I have been asked what my workflow is several times over the past couple years, so, I decided to document it and share.
I have used this workflow for the last 4 years without changing much in the process over that timeframe. Feel free to take anything from it to incorporate it into your own workflow.
If you have any questions about anything, feel free to contact me.
One of the most important things is making sure you are shooting RAW!
When shooting in a format like JPEG, information is compressed and lost. Because no information is compressed with RAW, you’re able to produce higher quality images, as well as correct problem images that would be unrecoverable if shot in JPEG.
RAW files are much larger than JPEG when it comes to storage space, so make sure you have large memory cards.
Always have spare memory cards on hand in the event you fill the first card and/or you encounter a malfunction. I run with four memory cards total. One in the camera (obviously) and three spares.
Know your camera! Know where all of the buttons are located and what they do. Know it so well that you can be in a pitch black room and change every setting without looking at the camera.
As soon as I get back from a shoot, I immediately back up all of the photos to two different backup drives.
I plug my card reader into my laptop along with backup drive #1. I select all of the photos from the memory card and copy and paste them over to backup drive #1.
Once that is done, I unplug the card reader and plug in backup drive #2. I copy everything that I just copied over to backup drive #1 and paste it over to backup drive #2.
Backup drive #2 is simply a backup drive. It’s only purpose is to be a mirror of backup drive #1.
Backup drive #1, however, is a backup of all of my photos, as well as being what I call my “working drive”. I don’t store any of my photos on my laptop. I use backup drive #1 as the source for my catalog in Lightroom.
Both backup drives are 1 terabyte Seagate Backup Plus Slim Portable drives
The directory structure on the backup drives is as follows:
Each year has it’s own folder.
/2012/
/2013/
/2014/
/2015/
Within each year’s folder, there are separate dated folders representing the specific date of the shoot.
/2015/08-22-2015/
/2015/09-10-2015/
/2015/09-26-2015/
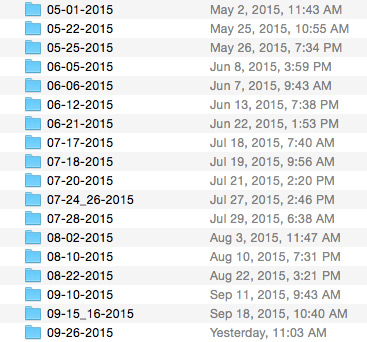
If I shot more than one event on a specific date, the dated folders would have an “_1”, “_2”, etc at the end of the folder name.
/2015/09-26-2015_1/
/2015/09-26-2015_2/
If I shot an event that lasted two or more consecutive days, the dated folder would have the “day” portion of the date spanning the days that I shot with an underscore “_” in between the beginning and end day.
/2015/09-15_16-2015/
Below is a screenshot of some of the dated folders within the 2015 folder to reference what I explained above.
I simply right click on the current year folder and select “Synchronize Folder” from the menu and it populates the year folder with the latest dated folder that I uploaded to backup drive #1.
The folder structure within Lightroom mirrors the folder structure on the backup drives. It just makes sense to do that.
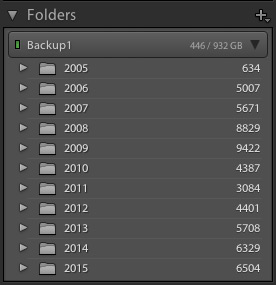
Year folders within the Lightroom library
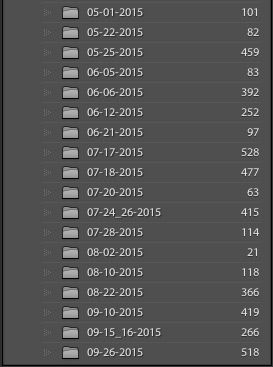
Dated folders within the 2015 folder
The first step of the process, within Lightroom, is exporting every photo taken during the session to full resolution JPEGs.
I then fire up Photoshop where I have an action created for resizing and watermarking.
The action resizes the full resolution JPEGs to 800 pixels (long side) by 533 pixels (short side), adds the “rationalgaze.com” watermark to the top left corner, then saves the file as a JPEG at 75% quality.
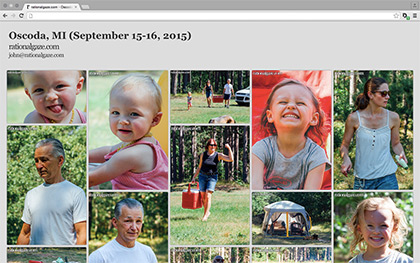
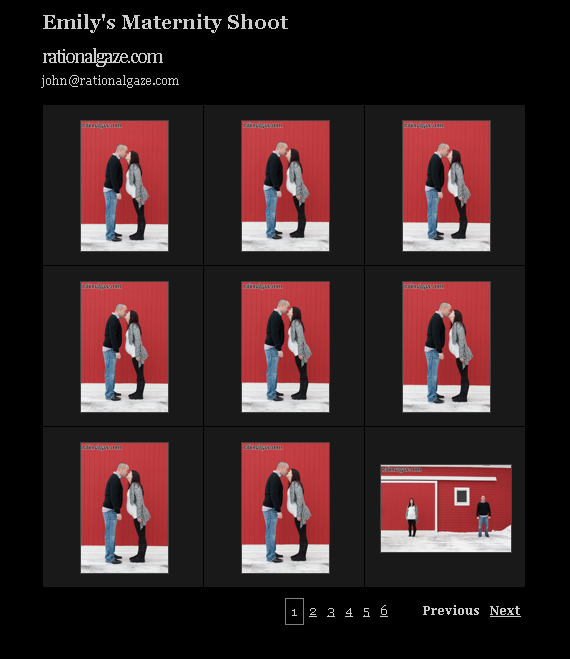
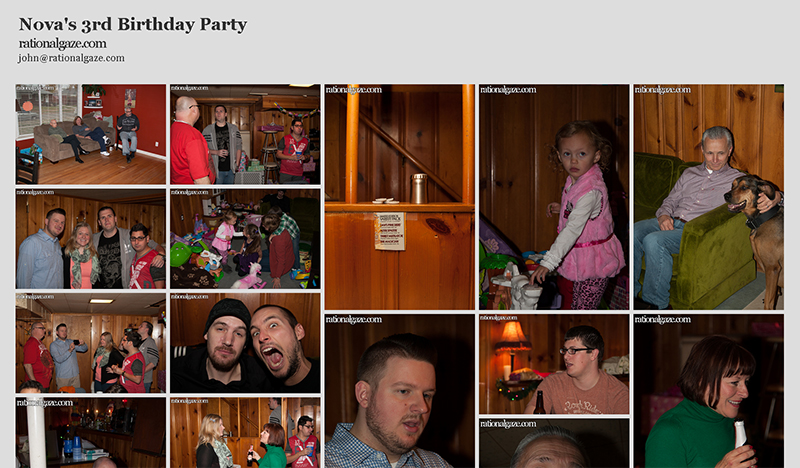
The resized/watermarked photos are uploaded to the custom online gallery software that Jeff @ Quantastical.com helped me code/create.
Click the screenshot below to see the online gallery in action!
I select between 5 and 10 photos that I personally like for use in a blog post, edit them, then export them to full resolution JPEGs.
I open each of the edited full resolution JPEGs in Photoshop and activate an action on each of them to resize the long side to 1500 pixels. The “rationalgaze.com” watermark is then added to each of the resized photos manually.
The resized and watermarked photos are saved as JPEGs at 100% quality, then uploaded to Flickr.
I choose to upload them to Flickr so I can have a portfolio on Flickr, as well as use the Flickr URLs to display the photos in my blog post.
Sometimes I am able to get the blog post up on the same day the shoot happened, other times, the blog post is posted days or weeks later.
It all depends on how much time I have available, because after all, this is a hobby.
I don’t really have much to explain for this step in my workflow, since blogging is pretty self explanatory.
I can say that this is a WordPress blog though, and I love WordPress! I am web developer by profession, in case you didn’t know.
If you are looking to start a blog or website and need someone to help with that, visit DEBO! Media Group and get in touch with me!
For information on getting started with WordPress, CLICK HERE
The amount of photos a client can select for editing is based on the amount of time the shoot was, which in turn, dictates how much the session costs.
Most shoots are 1 hour sessions, so the client gets to select 10 photos for editing in that case.
I edit the selected photos within Lightroom and export as full resolution JPEGs.
Sometimes, I will bring the full resolution photos into Photoshop in the event something needs to be done that can’t be done in Lightroom.
The edited photos are ZIP’d up, the ZIP file is uploaded to the server, and an email is sent to the client with a link to the ZIP file and a copyright release form attached to the email.

